Picking Your Gear Is The Hardest Step
The hardest part is starting which always becomes easier if you prepare the grow first.
This step is the most intimidating because you have to get a lot ready to prepare for the unknown. Research will help prepare and guide you through the unknown but anything can happen along the way. It is this feeling of unknown and uncertainty that will stop us from moving forward but it’s a plant after all. Your plant will grow pretty much no matter what, but to get to the yields and behavior we keep learning and keep adding to your set up and you will be growing dank bud in no time.
This Guide is just my personal recommendation to other growers but like mentioned above it is a plant and will grow in a lot of conditions and not everything is necessary. Hopefully what you read here will give you some motivation to do the hard step and just get started; it’s easy from there.
Picking A Grow Tent
The first thing to consider when purchasing a tent is how much space you have. This limits your selection right away allowing you to apply more important criteria. Second off think about how many plants you want to grow. You want around 4 square feet per plant in my experience but this can vary depending what you are trying to accomplish. My last major consideration is budget. The more expensive normally means the better the quality but in all honesty any grow tent these days will do the job and you can get some very cheap if you’re just starting out.
Picking A Grow Light
LED Lights


I would recommend an LED light for any beginner. They use way less power saving money in the long run and come as complete packages that you just plug in and you are good to go. Most manufactures will indicate the coverage area for vegetation and flower which will always be smaller for the latter. They even provide the ideal distance from the plant for each period too. All this provided information should make it easy for anyone to find an ideal light or lights for their tent/plant combo.
PAR – Photosynthetically Active Radiation is a measurement of the wavelengths from 400 to 700 nanometers (nm) and these are the wavelengths crucial for our plants. The sun when directly overhead has a par reading between 900-1500. These lights will be on all day at a consistent level so the level of the sun at it’s peak does not need to be matched. 600 PAR is a good level to look for and should be listed on the manufacturer’s website.
High Intensity Discharge
This category would contain High Pressure Sodium and Metal Halide lights. Metal Halide have more white light and are use for the vegetation period while High Pressure Sodium are more orange and are used for flowering. Both types of bulbs use more power than LEDs. This type of setup requires a ballast to run and outputs a lot more heat which can be good or bad depending on how you use it. This is a double edged sword because the more configuration available, the more knowledge you need to configure it correctly. These systems do not come as a complete set up for the most part and you can interchange the bulbs, ballasts, and light hoods. The ballast is your power source and is rated in watts along with the bulbs. Matching these at the proper wattage for your grow is the key to it all and you can find whatever configuration works for you.
Picking A Strain: Indica vs Sativa
Indica strains have a more sedative sensation than sativas and also grow to a much smaller size. Indicas are my preferred strain of choice just because of my limited grow room. Also if I only could grow one based on sensation it would also be indica but nothing wrong with a good sativa either.
Sativas provide a more uplifting and energetic sensation and grow to a much larger size than indicas. These strains will provide the biggest yields but only if you have the space. Recommended for an outdoor grow.
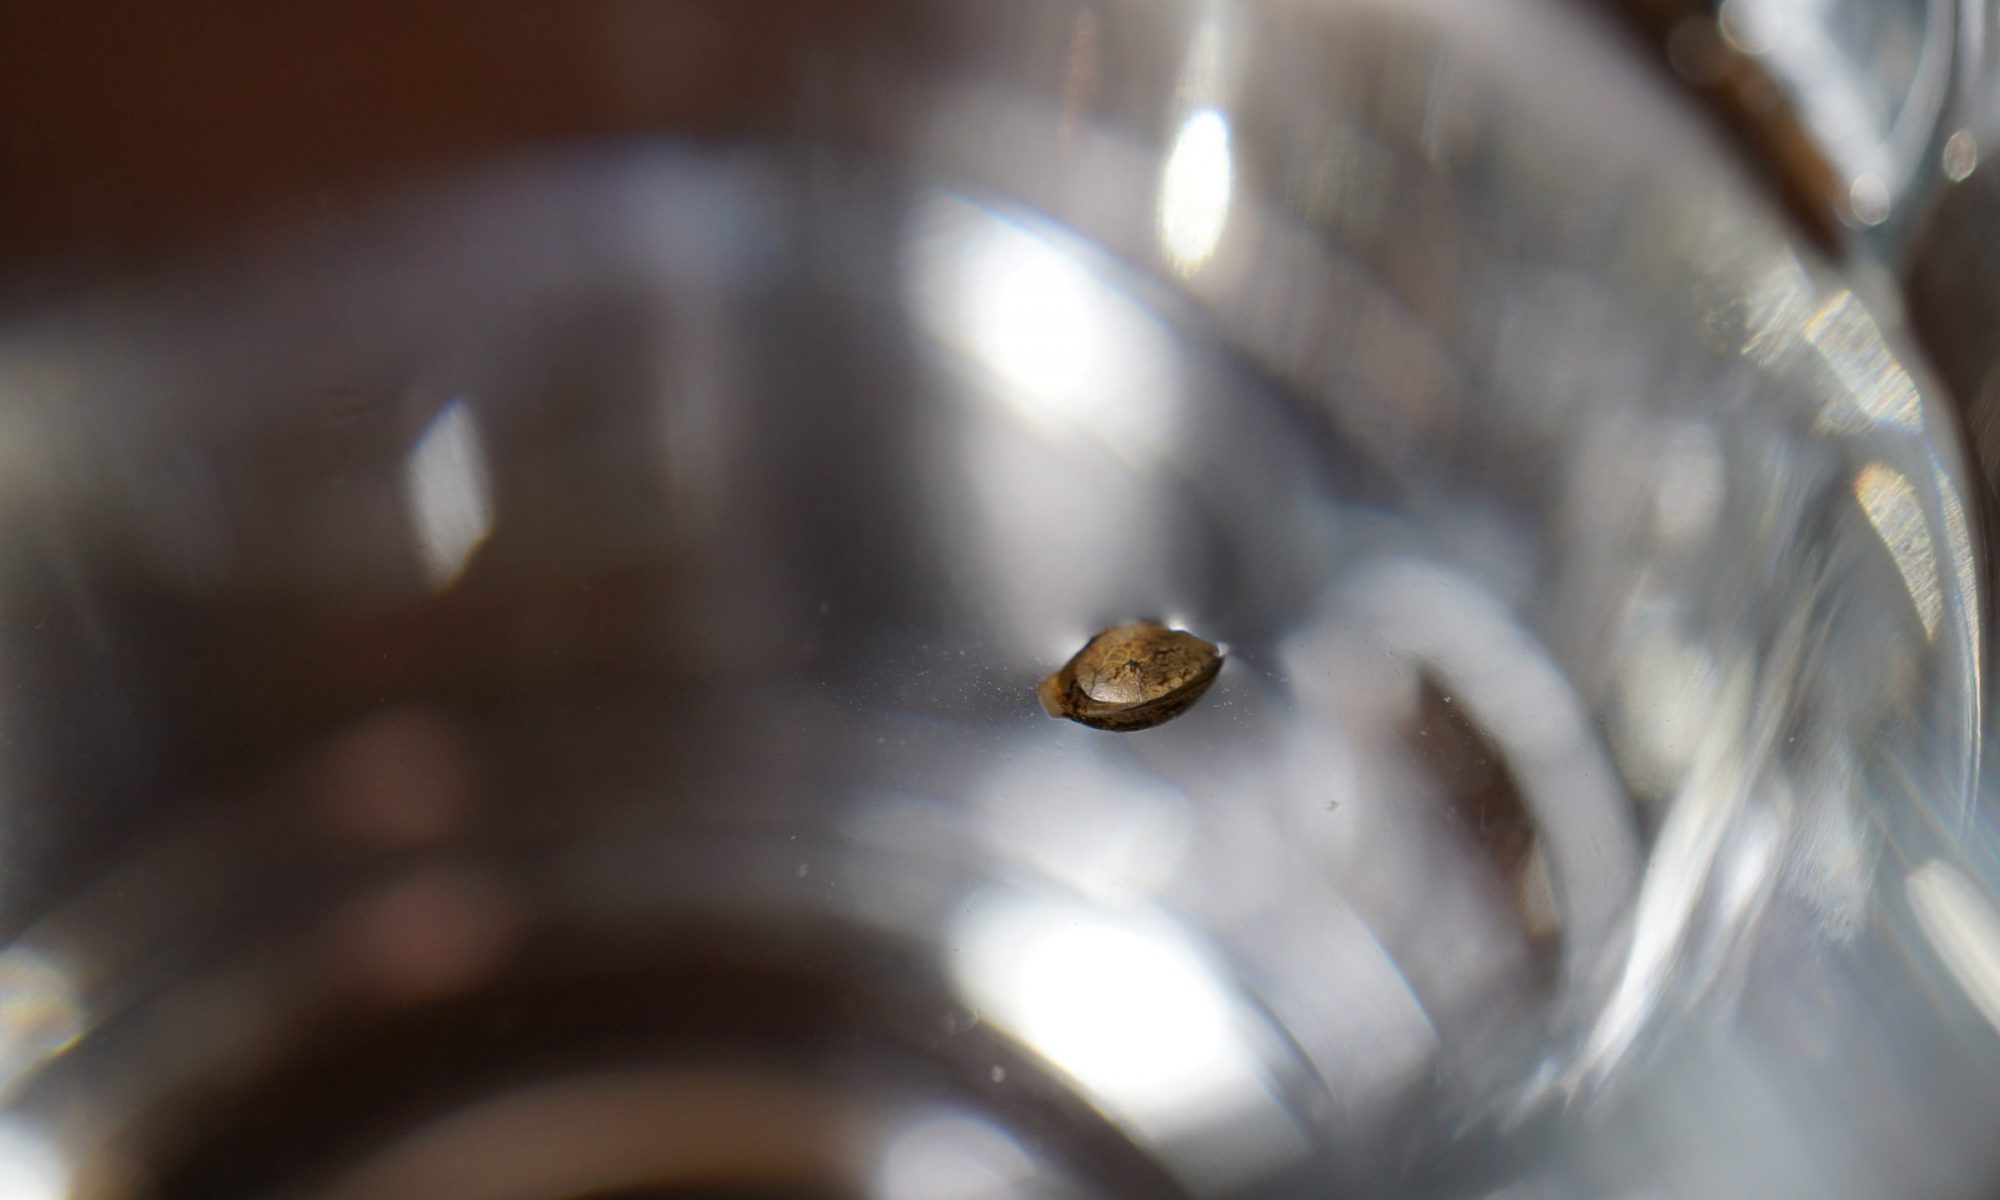
Individual Strain
After picking either indica or sativa look into the individual characteristics of the strains you have in mind to help narrow it down further.
The major things I look for in an individual strain are effects, flowering time, and grow height. Using these as a starting point you can narrow down your seed choice to the strain that will fit your growing needs perfectly.
Picking A Pot Size
The height you are trying to grow your plant too should be the major factor when picking a pot size. Pot size should start out at 2 gallons for a small plant( 2’x2’x2′) all the way up to 5 gallons for a large plant(3’x3’x6′). Somewhere in this range should be fine and the width of the plants will be wider than the pots just to be clear.
Breathable mesh pots are becoming a fad for growers, claiming to give roots more air.
Decide On Nutrients
Dutch Nutrients A + B


These are recommended for beginners because it is harder to burn your plants by adding too much of the wrong stuff. It is used in 2 stages, Gro for veg, and Bloom for flower. Each stage has a bottle for A and another for B, which are both added for feeding. This is what I used for my Practice Grow.
General Hydroponics/Lucas Formula

In all my research the Lucas Formula produced the best results and is what I want to use in one of my upcoming grows. There are three bottles and you change the mix accordingly as you progress through your grow. They are a little more tricky but look totally worth it.
PH Down

After adding your nutrients the PH of the water will raise and PH down of any brand is REQUIRED to bring the levels to under 7. If not done correctly you will experience a build up of salts in your soil and go through nutrient lockout.
CAL-MAG+

No matter what nutrients you pick you will still need some CAL-MAG+ providing our plant with all the calcium and magnesium a growing plant needs.
Type Of Soil
Stay Away From Miracle Gro
The type of soil to look for has no added nutrients to it. We will be controlling exactly what our plants eat and miracle gro comes with the wrong mix to start. We want to give the exact nutrients required changing as necessary. With every feed we replenish the food supply which would all quickly be used up in the case of miracle gro.
Required Tools
PH Tester

Required for testing PH levels when adding PH down to water after all other nutrients.
Timer For Lights

I use a smart plug with a programmable schedule to control my lights but any timer that will turn something that is plugged in on and off and can be adjusted for time will do.